
(归档及压缩 重定向与管道操作,grep(GREP)高级使用,find精确查找,find高级使用,vim编辑器,vim编辑技巧)!


一、归档及压缩
作用:1.减小占用空间大小 2.整合分散的数据
• 归档的含义
将许多零散的文件,整理为一个文件
文件总的大小基本不变
• 压缩的含义
按某种算法减小文件所占用空间的大小
恢复时按对应的逆向算法解压
• 常见的压缩格式及命令工具:
.gz à gzip
.bz2 à bzip2
.xz à xz
• tar 集成备份工具
– -c:创建归档
– -x:释放归档
– -f:指定归档文件名称,必须在所有选项的最后
– -z、-j、-J:调用 .gz、.bz2、.xz 格式工具进行处理
– -t:显示归档中的文件清单
– -C:指定释放路径
tar包
tar 制作压缩包(打包)
格式:tar 选项 /路径/压缩包名字 /路径/被压缩的数据………..
-c:动作为打包 -f:指定压缩包名字
-z、https://yyzq.eu.org/zb_system/cmd.php?act=ArticlePst&csrfToken=3edc0eb26bf66a6e491944ed6423660b-j、-J:调用 .gz、.bz2、.xz 格式工具进行处理
u tar 制作压缩包(tar打包)
格式:tar 选项 /路径/压缩包名字 /源数据…….
]# tar -zcf /root/xixi.tar.gz  /etc/passwd  /home
]# ls /root/

]# tar -jcf /root/haha.tar.bz2 /etc/passwd  /home
]# ls  /root/

]# tar -Jcf /root/hehe.tar.xz  /etc/passwd  /home/
]# ls /root/
u tar 释放压缩包(tar解包)
tar 选项 /路径/压缩包名字 选项 /释放的位置
– -x:释放归档
– -f:指定归档文件名称,必须在所有选项的最后
– -C:指定释放路径
]# mkdir  /nsd01
]# tar  -xf  /root/haha.tar.bz2  -C  /nsd01
]# ls  /nsd01
]# ls  /nsd01/etc
]# ls  /nsd01/home

]# tar -tf  /root/xixi(tab键)    #查看tar包内容
案例1:创建一个备份包
使用 tar 工具完成以下备份任务:
– 创建一个名为 /root/backup.tar.bz2 的归档文件
– 其中包含 /usr/local 目录中的内容
– tar 归档必须使用 bzip2 进行压缩
]# tar -jcf /root/backup.tar.bz2  /usr/local/
]# ls /root/
]# tar -tf /root/backup.tar.bz2   #查看tar包内容
二、重定向(重新定向命令的输出)
将前面命令的输出,作为内容,写入到后面的文件
>:覆盖重定向
>>:追加重定向
[root@A /]# head -5  /etc/passwd > /opt/p.txt
[root@A /]# cat  /opt/p.txt
[root@A /]# hostname
[root@A /]# hostname  >>  /opt/p.txt
[root@A /]# cat  /opt/p.txt
[root@A /]# echo 123456
[root@A /]# echo 123456  >  /opt/p.txt
[root@A /]# cat  /opt/p.txt

[root@A /]# cat  /etc/hostname
[root@A /]# echo  nb.tedu.cn  > /etc/hostname
[root@A /]# cat  /etc/hostname
三、管道(操作符号 | )
作用:将前面命令的输出,传递给后面命令,作为后面命令的参数
]# head  -4  /etc/passwd   |      tail  -1
]# head  -8  /etc/passwd  |   tail  -1
]# cat -n  /etc/passwd  |  head  -8  |   tail  -1
]# ifconfig  |  head  -2
 ]# head  -12  /etc/passwd   |    tail  -5
]# head -12 /etc/passwd  |    tail -5  |  cat  -n
]# cat -n  /etc/passwd   |  head -12
]# cat -n  /etc/passwd   |  head -12  |   tail -5
]# cat -n  /etc/passwd  |  head -12  |   tail -5  > /opt/pa.txt
]# cat  /opt/pa.txt
]# ifconfig   |  head  -2   >  /opt/ip.txt
]# cat  /opt/ip.txt
grep高级使用
作用:从文本文件内容中,过滤关键字符串
]# grep  root  /etc/passwd
]# grep  -v  root  /etc/passwd   #取反匹配
]# grep  ^root  /etc/passwd  #以root开头
]# grep  bash$  /etc/passwd  #以bash结尾
^$:表示空行
]# cat  /etc/default/useradd
]# grep  -v  ^$  /etc/default/useradd
Linux中大多数配置文件内容,以#开头的行为注释行
显示配置文件有效信息(去除以#开头的注释行和去除空行)
]# grep -v  ^#  /etc/login.defs
]# grep -v  ^#  /etc/login.defs  |  grep -v  ^$
]# grep -v ^# /etc/login.defs   |  grep -v ^$  > /opt/log.txt
]# cat  /opt/log.txt
find精确查找
格式:find [目录] [条件1]
– 常用条件表示:
-type 类型(f、d、l)
-name "文档名称"
-size +|-文件大小(k、M、G)
-user 用户名
-mtime 修改时间
u -type 类型(f文本文件、d目录、l快捷方式)
[root@A /]# find  /boot  -type  d
[root@A /]# find  /opt  -type  d
[root@A /]# find  /etc  -type  l
[root@A /]# find  /boot  -type  f
]# wc  -l  /etc/passwd    #统计有多少行
]# find  /boot/  -type  d  |  wc  -l
]# find  /boot/  -type  f  |  wc  -l
u -name "文档名称"
]# find  /etc/  -name  "passwd"
]# find  /etc/  -name  "*tab"
]# find  /etc/  -name  "*.conf"
]# find  /etc/  -name  "*tab"   |  wc  -l
]# find  /etc/  -name  "*.conf"  |  wc  -l
]# find  /etc/  -name  "*.conf"  |  cat  -n
]# mkdir   /mnt/nsd01
]# mkdir   /mnt/nsd02
]# touch   /mnt/nsd03.txt
]# find  /mnt/  -name  "nsd*"
]# find  /mnt/  -name  "nsd*"  -type  d
]# find  /mnt/  -name  "nsd*"  -type  f
u -size +或- 文件大小(k、M、G)
[root@A /]# find  /boot/  -size  +300k
[root@A /]# find  /boot/  -size  +10M
[root@A /]# find  /boot/  -size  +1M
u -user 用户名 (按照数据的所有者)
[root@A /]# useradd  natasha  #创建用户
[root@A /]# find  /home/  -user  natasha
[root@A /]# find  /   -user  natasha
/proc:内存的数据,不占用硬盘空间
u -mtime 修改时间 (所有的时间都是过去时间)
-mtime +90 #90天之前的数据
-mtime -90 #最近90天之内的数据
三个月以前的数据,+90
[root@A /]# find  /root  -mtime  +90
[root@A /]# find  /root  -mtime  -10
find高级使用
处理find找到的数据,每查找的一个就传递一次
– find [范围] [条件] -exec 处理命令 {} \;
-exec额外操作的开始
{} 永远表示前面find查找的结果
\; 额外操作的结束
]# find  /boot/   -size  +10M
]# find /boot/ -size +10M -exec  cp  {}  /mnt  \;
]# ls /mnt/案例2:查找并处理文件
1. 利用find查找,整个系统中用户 student 拥有的数据,并且必须是文件,把它们拷贝到 /root/findfiles/ 文件夹中
]# useradd  student
]# mkdir  /root/findfiles
]# find  /  -user student  -type  f
]# find  /  -user student  -type  f  -exec cp  {}  /root/findfiles  \;
]# ls  -A  /root/findfiles/
vim编辑技巧
当文件不存在,则自动新建,vim不能新建目录
三个模式:命令模式 插入模式(输入模式) 末行模式
[root@localhost ~]# vim /opt/nsd.txt
命-------i键 或 o键---------》插入模式(按Esc键回到命令模式)
令
模
式------输入英文的冒号 ":"-----》末行模式(按Esc键回到命令模式)
末行模式 输入 :wq #保存并退出
末行模式 输入 :q! #强制不保存退出
u 命令模式操作
• 光标跳转
操作类型 | 按键指令 | 用 途 |
移动光标 | á、â、ß、àà | 上、下、左、右 |
光标行内跳转 | Home 键 或 ^、数字 0 | 跳转到行首 |
End 键 或 $ 键 | 跳转到行尾 | |
全文翻页 | PgUp 键、PgDn 键 | 向上翻页、向下翻页 |
光标行间跳转 | 1G 或 gg | 跳转到文件的首行 |
G | 跳转到文件的末尾行 |
]# cp   /etc/passwd    /opt/pass.txt
]# vim   /opt/pass.txt
• 复制/粘贴/删除
操作类型 | 按键指令 | 用 途 |
复制 | yy、3yy | 复制光标处的一行、3行 |
粘贴 | p、P | 粘贴到光标处之后、之前 |
删除 | x 或 Delete键 | 删除光标处的单个字符 |
dd、3dd | 删除光标处的一行、#行 | |
d^ | 从光标处之前删除至行首 | |
d$或D(大写) | 从光标处删除到行尾 |
小写的u为 撤销
• 查找/撤销/保存
操作类型 | 按键指令 | 用 途 |
文本查找 | /a | 向后查找字符串“a” |
n、N | 跳至后/前一个结果 | |
撤销编辑 | u | 撤销最近的一次操作 |
U | 撤销对当前行的所有修改 | |
Ctrl + r | 取消前一次撤销操作 | |
保存退出 | ZZ(大写) | 保存修改并退出 |
u 末行模式操作
:r /etc/filesystems | 读入其他文件内容 |
]# echo  123456  >  /opt/a.txt
]# echo  hahaxixi  >  /opt/c.txt
]# vim    /opt/c.txt
末行模式下 :r /opt/a.txt
末行模式下 :r /etc/passwd
• 字符串替换
操作类型 | 设置指令 | 用 途 |
行内替换 | :s/root/new | 替换光标所在行第一个“root” |
:s/root/new/g | 替换光标所在行所有的“root” | |
区域内替换 | :1,10s/root/new/g | 替换第1-10行所有的“root” |
:%s/root/new/g | 替换文件内所有的“root” |
]# cp  /etc/passwd    /opt/s.txt
]# vim  /opt/s.txt
• 开关参数的控制
操作类型 | 设置指令 | 用 途 |
编辑器设置 | :set nu或nonu | 显示/不显示行号 |
:set ai或noai | 启用/关闭自动缩进 |
# 文件位置和名字是固定的,用于设置vim的格式
[root@control ansible]# vim ~/.vimrc
set ai        # 设置自动缩进
set ts=2      # 设置按tab键,缩进2个空格
set et        # 将tab转换成相应个数的空格
set nu  # 默认显示行号
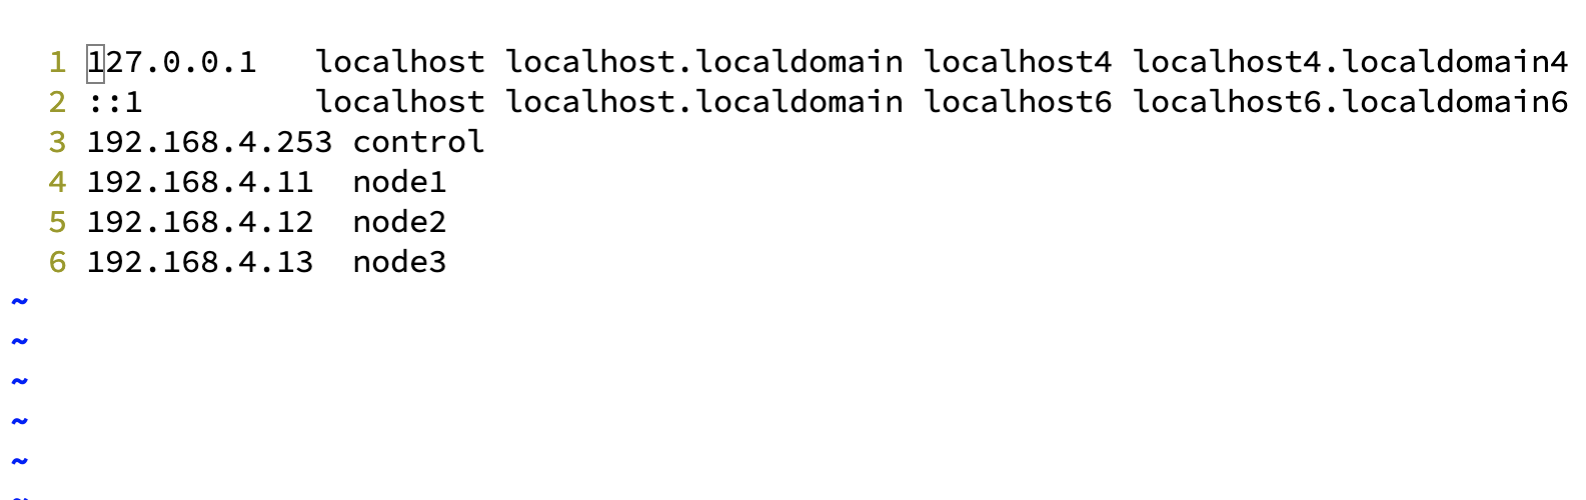
再次打开/etc/hosts 发现已经设置好了
vim /etc/hosts

over


